Now that you've got mIRC installed and configured, let's connect to a server.
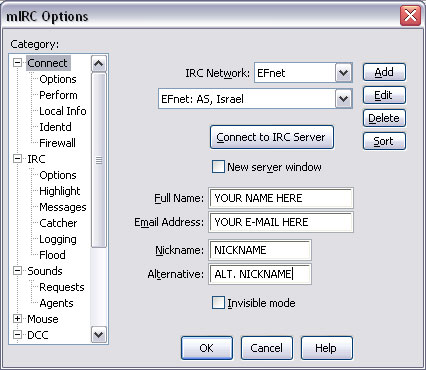
Each time you start mIRC you will see this window. For this tutorial, set your IRC Network to EFnet and press Connect to IRC Server. Often times you will have problems connecting to certain EFnet servers. Be patient! If your client can not connect to a certain server, it will move to the next server on the list. It may take your client up to 10 minutes to connect to an EFnet server. Again, be patient! When you have successfully connected to the server, the mIRC Channels Folder window will pop up:
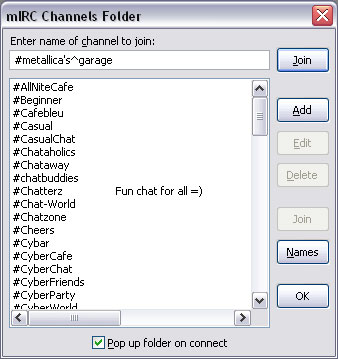
In this tutorial, we will be joining #metallica's^garage. Type #metallica's^garage and hit Join. A window like this should pop up:
click to enlarge

click to enlarge
Let's go over the layout of the channel. The smaller sub-window on the far right is a list of users currently in the channel. A user with an @ next to their name is an operator. They are in charge. Any questions about the channel should be directed to them. A user with a + next to their name is a voice. Voices distribute files in the channel.
The much larger sub-window on the left displays everything that is happening the channel. You will see file server advertisements, notifications of users joining and leaving, and messages sent to the channel by other users. You can type here as if it was a normal chat room. Remember to be nice; the operators have the power to ban you!