<< Back to the Introduction <<
The first step is to download an IRC client. For this tutorial, we will use mIRC. Download the software here and then install it on your machine.
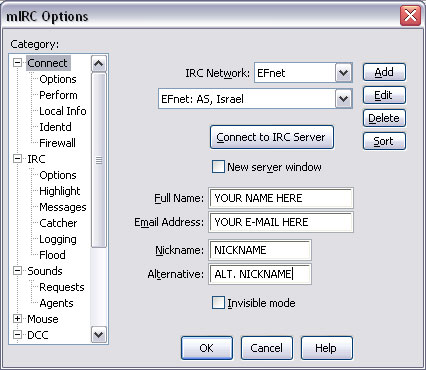
When you first download the software, a window like this will appear. For this tutorial, we will be connecting to EFnet, so choose EFnet in the IRC Network drop-down box. Fill in the Full Name, Email Address, Nickname, and Alternative fields however you wish.
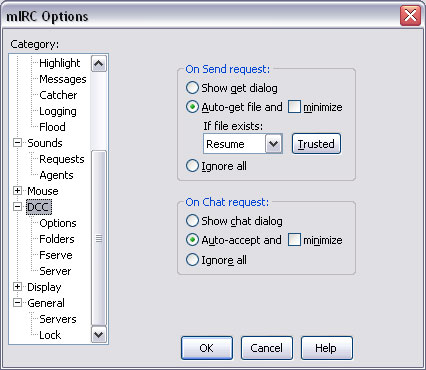
Next, choose DCC. You will want to enable
Auto-get file in case
you are away from the computer when files are sent to you. Also, be sure to
select Resume from the drop-down box.
PLEASE NOTE: enabling auto-get is big security risk! Click
here
for more information. I will not be held liable for any damage to your system; this is your warning!
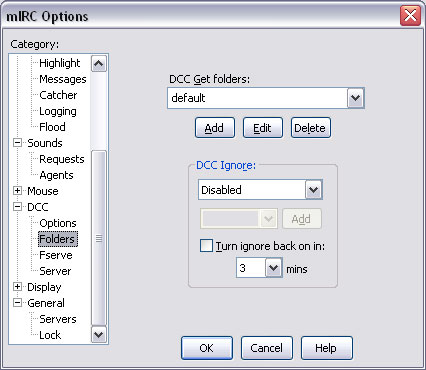
Next, set DCC Ignore to Disabled and uncheck the Turn ignore back on in checkbox. You can also edit the default DCC Get folders if you wish; this will change the location where new files are saved.
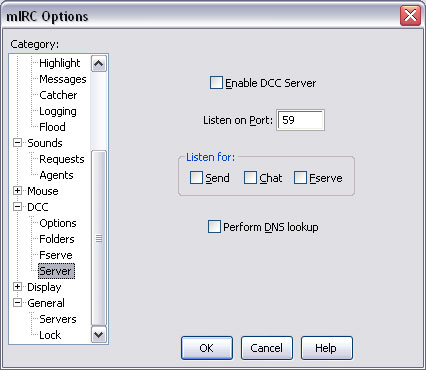
Finally, uncheck the Enable DCC Server checkbox.